
 First of all, you don't have to make all three types of sliders if you don't want. I call it a slider sampler because there are three great varieties in this recipe for you. But if one doesn't sound so great to you, then just make more of another! Or even get brave and mix and match ingredients. That's the beauty of it. Still, I think all three of these tiny cheeseburgers are sure to please, and encourage you to give them a try! There's the Wholly Guacamole, the Bacon BBQ Bonanza, and Chibi's Classic Cheeseburger. We’re trying to limit our carbs lately, so I’ve prepared them sans rolls- but feel free to throw them on the buns of your choice, OR, make your own! Nothing beats the smell of freshly baked bread. I’ll be including a few recipes here on the blog very soon, so make sure to follow me and keep an eye out for them! The same goes for guacamole. There are store brands, but they really don't compare to freshly made. Serve these up with a nice side salad and enjoy!
Note: The ingredients I use are ALWAYS all organic. I think hunting for a new ingredient or a replacement for something I really loved to cook with is exciting and fun. If you don't agree, check out my links for brands that I use to help get you started.
Yield: 9 Sliders
 |
| Click to Enlarge |
1 lb grass-fed ground beef
Guacamole
¼ Small Onion
¼ Small Onion
Crispy Fried Onions
2 TBSP Shredded Cheese
Kirkland Brand Organic No Salt Seasoning
Garlic Powder
Salt and Pepper to taste
2 Slices Bacon
½ Tomato
Lettuce
BBQ Sauce
3 Slices of Cheese (I like cheddar, but you can use your favorite! Whole foods sells a large variety of sliced organic cheeses.)
BBQ Sauce
3 Slices of Cheese (I like cheddar, but you can use your favorite! Whole foods sells a large variety of sliced organic cheeses.)
Ketchup (try to find it in glass- acidic things like tomatoes leech chemicals from plastic. Many of which are carcinogens! Yikes.)
Mustard

Nothing is worse than making the perfect burger only to have it get cold while you’re busy scraping together your toppings as quickly as you can. In a pan, fry up two slices of bacon until they’re nice and crispy, then set aside to drain.

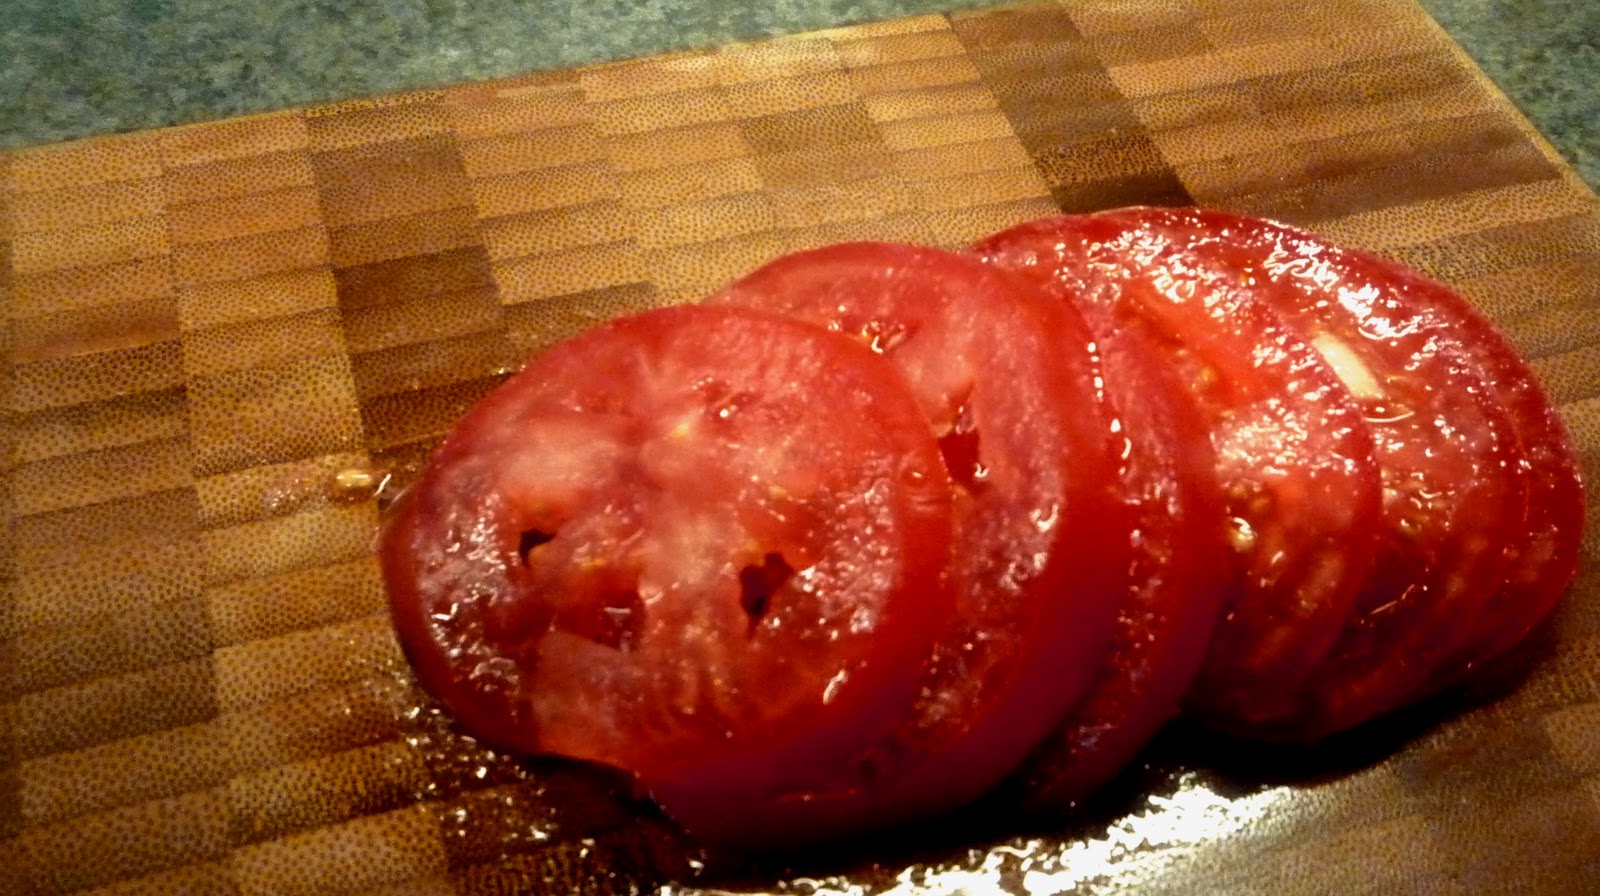
Slice up your ¼ onion into thin slices, and then sauté until translucent. If you’re feeling crazy, use the bacon grease to sauté your onions- it adds a little extra umph! Next, slice your tomato. You’ll need three slices. The rest you can snack on while you’re cooking or put away for another recipe (like guacamole!)
Grab your guacamole, BBQ sauce, ketchup, mustard, and lettuce (wash it first and pat try! You’ll need three small pieces.) Take your cheese slices and quarter them- you’ll end up with a few extra, you can eat them, I won’t tell.
Once your bacon is cool, crumble it up and divide it into six parts.
All right, we’re ready! Let’s get cooking!
Step Two: Season Your Meat
I don’t think a lot of people do this, so I don’t think you might realize how crucial this step is! Adding things to your beef before you cook it really ups the deliciousness factor in your finished product.

Note: Table salt is a no-no. It’s not real salt. It’s an overly processed mess that they add aluminum to most times to help it pour more smoothly! Yowza. Sea salt is a step up, but most of them are still highly processed. My favorite is Himalayan Salt
 . It’s pink! And it comes from the Himalayan mountains. It’s so pure that it does not need refining at all. And guess what? You know how everyone is always telling you, watch your sodium, too much can be dangerous? When you’re eating REAL salt, it’s good for you! That’s right, good for you! Your body needs salt to survive. Eat the good stuff. Your body will thank you. You can usually snag it at stores like TJ Maxx that have a specialty food section, or buy it bulk online or in a higher end store like Whole Foods. Don’t get jipped at the supermarket- they sell a 3 ounce bottle for $10 when you can get 5lbs online for $20!
Throw in 2 TBSP of shredded cheese (I use mozzarella. Try whatever you like!) and 2 TBSP of Crispy Onions. The onions are optional, but they definitely make a big difference, so if you can find them, go for it! The brand I use is Golden Farms.
Step Three: Form Your Patties

If you’d like to acquire some cast iron cookware, it’s really not too expensive. Surf the web. I have a bunch of Lodge 
 pans that have served me well and are very affordable.
Now back to the recipe! Grab that meat and kneed it until everything’s incorporated and well distributed. Then divide it into 9 pieces and form it into little patties. Aren’t they just adorable???
Step Four: Grill On!

Step Five: Cheese, Anyone?

Step Six: Topping Time

For the Bacon BBQ Bonanza, put one part bacon, add a spoonful of BBQ sauce (I really like the Organic Village brand, classic!) and then smother in 1/3 of your sautéed onions.

No comments:
Post a Comment